"How to Use Tattoo Numbing Cream: A Step-by-Step Guide for Beginners"
Are you a beginner looking to ease the pain of getting a tattoo? Look no further! Discover the step-by-step guide on how to use tattoo numbing cream like a pro.
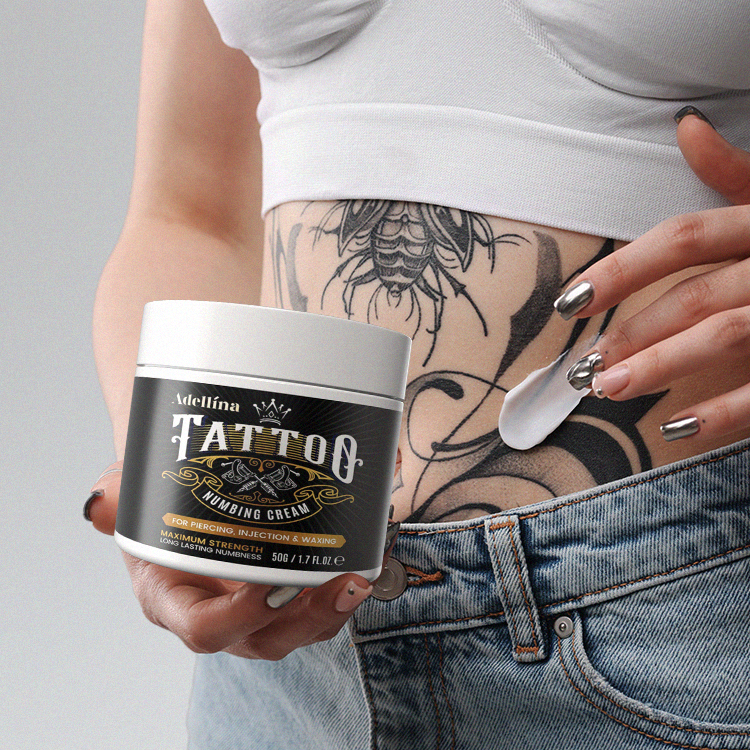
What is Tattoo Numbing Cream?
Tattoo numbing cream is a topical anesthetic that helps dull the pain during the tattooing process. It works by numbing the skin's surface, making the experience more bearable for those with a low pain tolerance.
Step 1: Choose the Right Cream
Not all numbing creams are created equal. Look for a product specifically designed for tattoos, as they tend to be more effective. Read reviews and consult with your tattoo artist for recommendations.
Step 2: Prepare Your Skin
Clean the area where you will be getting tattooed with soap and water. Pat it dry gently with a clean towel. Avoid applying any lotions or oils before using the numbing cream.
Step 3: Apply the Cream
Using clean hands, apply a thick layer of the numbing cream to the skin. Make sure to cover the entire tattoo area evenly. Avoid rubbing the cream in too vigorously, as it may cause irritation.
Step 4: Let it Sit
Once the cream is applied, cover the area with plastic wrap. This helps the cream penetrate the skin and ensures maximum numbing effect. Leave it on for the recommended time specified on the product packaging.
Step 5: Wipe it Off
After the recommended time has passed, remove the plastic wrap and wipe off the excess cream with a clean cloth. Make sure the skin is clean and dry before the tattooing process begins.
Step 6: Enjoy a Pain-Free Tattoo Experience
Now that your skin is numb, you can sit back and relax during the tattooing process. Feel the vibrations and pressure without the intense pain. Remember to follow your tattoo artist's aftercare instructions for the best results.
With this step-by-step guide, you can confidently use tattoo numbing cream for a more comfortable tattoo experience. Say goodbye to the fear of pain and hello to beautiful body art!